Uncategorized

Featured Artist – Tag You’re It Challenge #68

Hello everyone,

I am so excited to be a featured artist on Tag You’re It challenge blog. Thank you so much Tracey McNeely for inviting me back. I was a designer at the blog once then featured once previously. So, it is good to be featured back again.

This tag was inspired by my dog. Although my do is a Cocker Spaniel, I am a lover of all dogs. So I have to have Tim’s Crazy Dogs stamp set and dies in my collections.

To make this tag, I stamped one of the dog from the stamp set twice and I coloured with copic markers. I also stamped and coloured the accessories like the ball, bone, leash and the bowl. I used the coordinating dies to die cut the images including the eyes, nose and collar of the dog.

For the background on the tag, I sponged distress inks Dried Marigold and Ripe Persimmon through the brick stencil. I love bright colours. Then I stamped the sentiment “Love” from Simon Says Stamp Kristina’s Love stamp set using Versafine Onyx Black ink using Mini MISTI to get a full even coverage. Then I adhered the focal images some glued flush to the tag and the some foam mounted for added dimension. The smaller sentiment from the same stamp set is stamped on a strip of white cardstock and adhered vertically using foam adhesives. I added some tiny hearts punched out of some sponged cardstocks to add on top of the focal image. I also brushed Wink of Stella clear shimmer on those hearts. I used the leash as the tag ribbon.

Here are some closeup of the tag showcasing the dimensions.

Hope you are inspired by my tag. And I cannot wait to see your take on my tag. Thanks for having me as Featured Artist on Tag You’re It Challenge, Tracey!

Uncategorized

Simon Says: Use More Than One Die Cut or Punch.

wed-newchallenge-header

Hi all and welcome to another week on the Simon Says Stamp Wednesday Challenge

Thank you for joining us for the Bit O’ Green Challenge and we hope you will all join us again this week too.

We will be back soon with the name of the lucky winner of the $50 Voucher

This week the challenge is to

Use More Than One Die Or Punch  

This week we are showcasing Memory Box Products this week. You don’t have to use them for the challenge but if you have them we would love to see them used.

As always Simon Says Stamp will be giving away $50 voucher to shop at the fabulous Simon Says Stamp Store.

This is my take on the challenge theme.

I used two dies from Memory Box. One is called Springtime Floral Egg die and the other is Weeping Willow Archway die. I combined these two dies along with Simon Says Stamp Some Bunny Loves You stamp set from New Beginnings collections. For all the colours I have used Distress Oxide inks. I am so in love with Distress Oxide inks. They blend so well and love the oxide chalky effect. Since I have not found a home for them in my craft room, it is sitting on the table and getting a lots of use out of them 🙂

The bunnies are stamped using versafine Onyx Black ink on watercolour paper and coloured using Zig Clean Colour Brush pens. I hand cut them out. The sentiment is also from Some Bunny Love You stamp set. The card is embellished with Nuvo Jewel Drops. Here are some of the closeup photos of the card.

So now it’s YOUR turn.  Happy Crafting

Do you use Instagram ?  If so please add  #ssswchallenge to your challenge entry uploads so we can see them on there too !

There are fabulous Give Aways and inspiration from fabulous designers on a daily basis over on the Simon Says Stamp Blog , if you haven’t subscribed by email you may want to so you don’t miss out

Simon Says Stamp

You have until Wed  8am Ohio time. 1pm UK time, 2 pm CET to join in

New creations only, please don’t link projects published before the start of the challenge, Only 5 new creations will be eligible in the prize draw

Card Supplies:

Thanks for stopping by my blog today.
12965851805_e22a390be9_m

Distress Oxides

Adding colour and texture to your cards. Photo Heavy!

Oh Hi everyone,

Hope you are looking forward to your weekend or already enjoying your Saturday. I shared with you on my social media the panels I created using the new distress oxide inks. They are so pretty I will tell you. The oxide chalky look and feel is amazing. I played with the inks an entire afternoon.

One of the techniques I tried was the traditional Tim’s technique of applying inks to the mat, spritzing with water and smooshing the watercolour panel on it. Then I sprayed more water and heat set. I repeated this process to add layers. I love this technique. But I felt I did not get the intense colours on this technique and also I kind didn’t have control over the spatters, colours and the oxidation of the inks. I like bright colours, love spatters and also like to have a bit of control on what I am doing. So instead, I sponged the inks on the watercolour panel randomly first. This gives me control of how intense the colour I like and where on the paper. Hope this makes sense. Then I spattered clean water in small drops first, heat set them and then added more water in puddles, heat set…. repeated this process until I was happy. I had control over where I wanted the oxidation and keeping intense colours in some places to give a nice variation to the background.

The panel on the far left is using the traditional technique and the middle and right panels are using sponging and spatter technique. You can see the difference. I have used the texture side of the Tim Holtz distress watercolor paper. This is one way to add texture and of course you have the spatters and layers to add texture.  You can use them as is for a background as they are beautiful. I die cut these using Simon Says Stamp Tropical Leaves die set to die cut the panel out. I made a set of four cards. Two using white as the base and two using kraft as the base. Here they are.
You are the sweetest card1

I actually made another colourful panel similar to the centre panel and die cut lots of these tropical leaves. For this card, I die cut a white panel using one of the rectangle dies from Infinity rectangle die set from HA. I adhered the die cut randomly on the panel, trimmed off the excess, adhered the panel to the white card base using foam adhesives. The sentiment is from Simon Says Stamp Sweet Cakes stamp set. I added some sequins to finish the card. Here is a closeup.

You are the sweetest closeup

Second card the panel is larger than the first card. The process is the same. The sentiment is from Friendly Flowers stamp set. The Distress Oxide ink colours I have used are Broken China, Spiced Marmalade and Worn Lipstick

Thinking of you card

Here is the closeup of the card.

Thinking of you closeup

I used the other two panels I created using distress oxide inks on kraft base as the colours were muted.

keep Smiling card1

This Distress Oxide panel was created using the traditional technique I mentioned above. You can see in the closeup the layers of colours, some colours blended over the other especially the areas of green since I used Broken China and Fossilized Amber distress oxide inks only. This technique will be great for backgrounds. The sentiment is from Simon Says Stamp Thinking of You stamp set.

Keep Smiling closeup

On this panel below, I have used Distress Oxides Peeled Paint, Fired Brick and Fossilized Amber. I sponged them randomly on Tim Holtz distress watercolor paper, spatter water and heat set. Repeated the process many times till I was happy with the result. The die cut the panel using Tropical leaves dies from Simon Says Stamp. Same process as the previous cards.

You matter very much card1

The sentiment is from Friendly Flowers stamp set also from Simon Says Stamp.

You matter very much closeup

Here are supplies I used to make these cards.

Thanks for stopping by my blog today. Have a lovely weekend.

My blog signature

Taylored Expressions

Simon Says A Bit O’ Green!

Hi all and welcome to another week on the Simon Says Stamp Wednesday Challenge
Thank you for joining us for the Feminine Challenge and we hope you will all join us again this week too.
We will be back soon with the name of the lucky winner of the $50 Voucher
This week the challenge is to use a

Bit O’ Green 

In honour of St Patricks day on 17th March
This week we are showcasing Taylored Expressions Products this week. You don’t have to use them for the challenge but if you have them we would love to see them used.
As always Simon Says Stamp will be giving away $50 voucher to shop at the fabulous Simon Says Stamp Store.

There are all the colours of the rainbow on my card along with a bit of green. I followed the challenge title to the T!  Taylored Expressions dies are one of my favourite. They are unique and you can combine their dies to create a scene as they all coordinate well with each other. That is what I have done with my card.
I have used On the Line Beach die set along with Little Bits Adirondack Chair, Little Bits: Sun and Clouds and Skinny Mini Borders Spring dies to create my scene. And to add colours to my elements, I have used the new Distress Oxide inks.

For my background, I sponged Fossilzed Amber, Broken China and Faded Jeans distress oxide inks,  added water spatter and heat set to get that chalky look to the oxide. On an another bristol paper, I sponged Peeled Paint and Vintage Photo distress oxide inks, spattered with water, heat set before using the On the line Beach die to die cut the palm trees. I also die cut four of the stitched detail leaves of the palm tree which I layered one behind and one on top of the base trees. I adhered this on the background using foam adhesives.

I similarly repeated the process of distress inks to die cut all the other elements for the card. Only the clouds don’t have any colour on them. The sentiment is from Simon Says Stamp Pool Play stamp set stamped using black ink and MISTI. Finally the card is embellished with Snow Flurries sequins.

Here are couple of closeups photos of the card.
SSS A bit of Green closeup//embedr.flickr.com/assets/client-code.js

SSS A Bit of Green closeup3//embedr.flickr.com/assets/client-code.js

So now it’s YOUR turn.  Happy Crafting
Do you use Instagram ?  If so please add  #ssswchallenge to your challenge entry uploads so we can see them on there too !
There are fabulous Give Aways and inspiration from fabulous designers on a daily basis over on the Simon Says Stamp Blog , if you haven’t subscribed by email you may want to so you don’t miss out
Simon Says Stamp
You have until Wed  8am Ohio time. 1pm UK time, 2 pm CET to join in
New creations only, please don’t link projects published before the start of the challenge, Only 5 new creations will be eligible in the prize draw
Card Supplies:

Thanks for stopping by my blog today.

My blog signature

Taylored Expressions

Hip Hip Meh…..

Hey everyone,
A  quick post sharing a Grouchy Grumpling card using the new Grouchy Grumplings 2 stamp set from Taylored Expressions.

I coloured the hippo from Grouchy Grumplings 2 stamp set using copic markers and die cut the image using the coordinating die. For the background I sponged the background stitched rectangle panel with distress inks Ripe Persimmon, Fossilized Amber and Candied Apple. I stamped the star background from Matchy Backgrounds stamp set using Candied Apple distress ink. The image is adhered using foam adhesive on the left side of the panel. One sentiment is heat embossed on Poppy Seed strip of cardstock and the second sentiment is black heat embossed below the focal panel. The card is embellished with Oreo enamel shapes from Taylored Expressions. Here is  a closeup of the card.

GAYATRIgrouchygrumplingscloseupTUE//embedr.flickr.com/assets/client-code.js

All the supplies used to make this card are listed below for you. All the new release products are available for purchase from Taylored Expressions store.

Card Supplies:

Thanks for stopping by my blog today.

My blog signature
Taylored Expressions

It’s the release day!

Hey everyone, Its the day you have been waiting for. It is the release day at Taylored Expressions. All the new products we have been sharing in the sneak peeks for past three days are now available for purchase at Taylored Expressions Store.
I have couple of products to share today. The first one uses Sitting Pretty dies and Sitting Pretty Accessories dies
GAYATRISittingPretty1THURS//embedr.flickr.com/assets/client-code.js

I chose a neutral colour combination for my card. I picked Buttercream Frosting, Toffee and Gold mirror cardstocks.  I die cut Sitting Pretty, Sitting Pretty Accessories, By the Fireside and Southwest Cutting plate along with one of the frames from Frame in a Frame die set using all the three cardstocks. So I had a variety of colours of die cut so I have enough to cluster the elements. To give the vintage feel, I sponged some Toffee ink on the cream and kraft die cuts and on the edges of the cardbase. Only the foliage is die cut using Granny Smith cardstock. I made a art frame piece on top of the mantle using Southwest cutting plate die cut out behind the gold frame, trimmed the edges and backed with a piece of kraft cardstock. I love that frame. So unique and beautiful it turned out. To embellish, I used white sequins from Snow Flurries sequins collection. Here are some closeups of the card.

GAYATRISitting Prettycloseup1//embedr.flickr.com/assets/client-code.js

GAYATRI Sitting Pretty closeup2//embedr.flickr.com/assets/client-code.js

Absolutely love how this card turned out. Lots of time and love went into make this card. All the supplies used to make this card are listed below.

Secondly I have couple of matchboxes to share.

GAYATRImatchboxesWED//embedr.flickr.com/assets/client-code.js

I have used the matchbox die to make these two cuties. I used pattern paper from Build a Scene pattern paper pack to die cut the cover of the matchbox. I used the scalloped die and rectangle die to die cut a window on both the cover. I added acetate sheet on the back before I assembled the cover. For the base I used Sugar Cube cardstock. To decorate the matchboxes, I used images and sentiments from Matchy Matchy stamp set and coordinating dies. I have put in a cute pair of earrings inside one of the matchbox just to show these are perfect to put in jewellery to gift teenagers. How cute is that? My daughter took all the matchboxes I made and gave them away to her friends with little gifts like bracelets, necklaces, rings and earrings inside them. They were not even for an occasion! The girls loved them so much. I had to diecut a few more pieces for them to assemble for themselves. Anyway, here are some more photos of the cute matchboxes.

GAYATRImatchbox2WED//embedr.flickr.com/assets/client-code.js

GAYATRImatchbox1WED//embedr.flickr.com/assets/client-code.js

GAYATRImatchbox2WED//embedr.flickr.com/assets/client-code.js

All the supplies used to makes these matchboxes are listed below.

Check out Taylored Expressions Blog for more inspiration and Taylored Expressions store for all the new products to shop.

Thanks for stopping by my blog today.

My blog signature

Taylored Expressions

Home Sweet Home!

Welcome Back! This is my third post for today. Here is my first post and second post.
Today is day #3 of Taylored Expressions March release sneak peek. View day #1 and day #2 sneak peek posts if you like to see them.
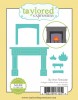
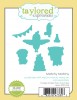
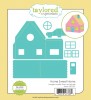
 I have two products to showcase. Today is a special day because both are 3D products. You will love them both and a must have to have in anyone’s collections. The first product I am showcasing today is called Home Sweet Home.
When I saw this die, I was so thrilled. I am building my own Home Sweet Home and putting together this die and making my project was as exciting as planning and building my own home. Here is a picture of my own home being built. It is about half way through.
And here are couple of my projects using Home Sweet Home die.

GAYATRIHomesweethomeWED12//embedr.flickr.com/assets/client-code.js

I used woodgrain cardstock to make my house. I die cut the elements then sponged Weathered Wood distress ink followed by Picket Fence distress paint and left it to dry. Then assembled the elements to make the house. I then added the windows, doors and shutters from Home Sweet Home Accessories using Poppy Seed cardstock. I added vellum behind the windows.
//embedr.flickr.com/assets/client-code.js
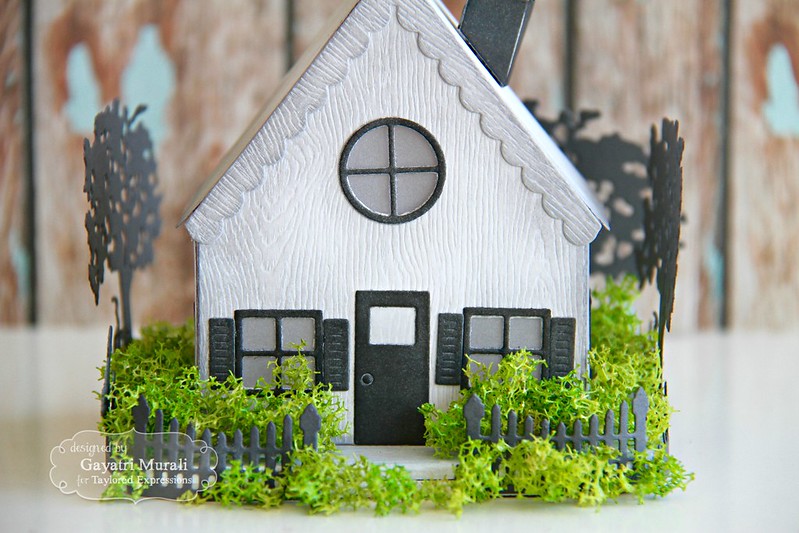
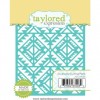
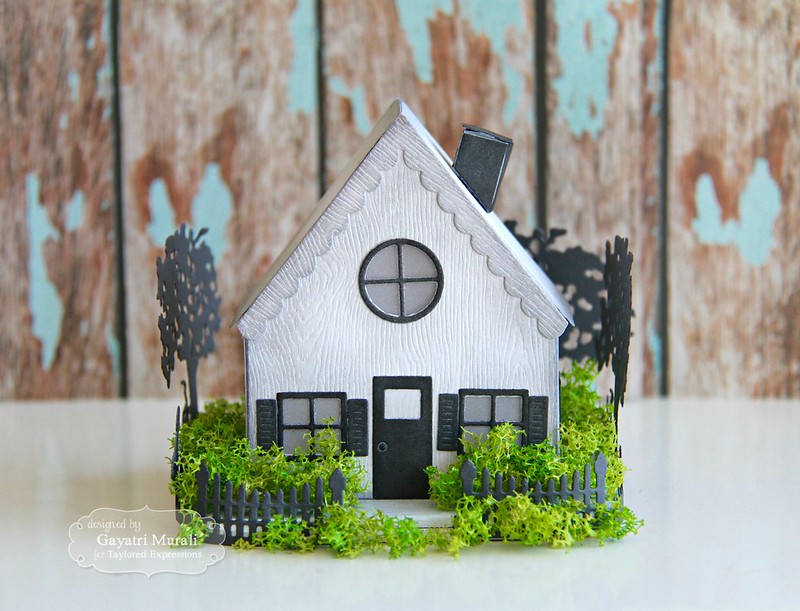
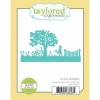
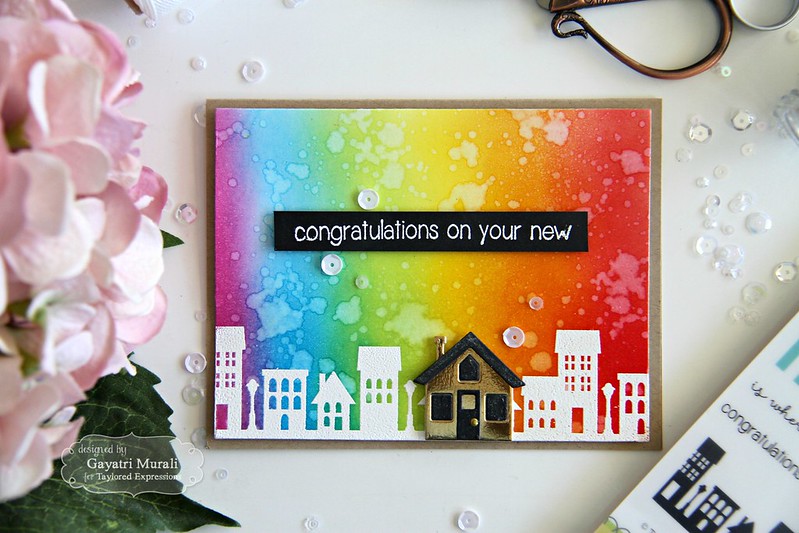
I placed the house on two rectangular coasters glued together and painted with Picket Fence distress paint. As a fence and background for the house, I used In the Garden die from Taylored Expressions die cut using Poppy Seed cardstock. Around the house, I brushed some gel medium and added artificial moss.  The house can be picked up to put a battery operated tea light and put back making the house glow.

GAYATRIhomesweethomeWEDcloseup1//embedr.flickr.com/assets/client-code.js

GAYATRIHomesweethomeangledWED//embedr.flickr.com/assets/client-code.js

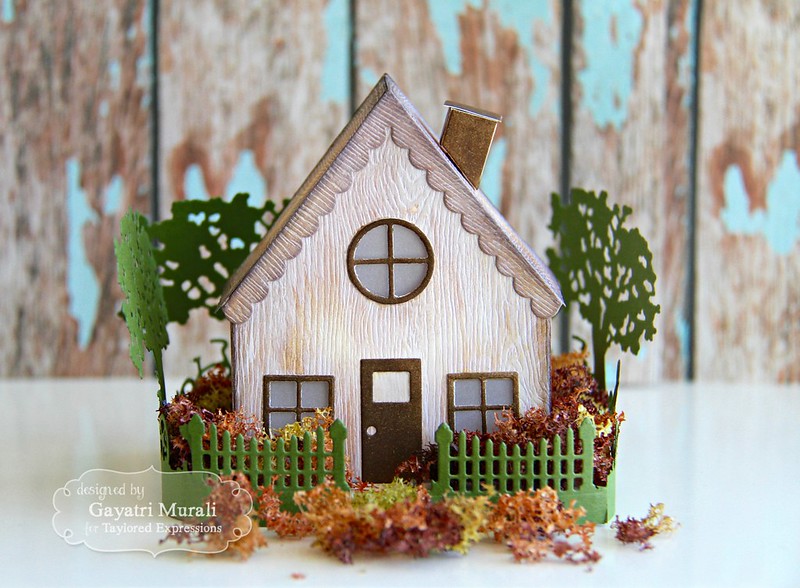
I did a similar process but used Gathered Twigs distress inks along with Chocolate Truffle and Peapod cardstocks from TE to make another model.

GAYATRIhomesweethomeWED21//embedr.flickr.com/assets/client-code.js

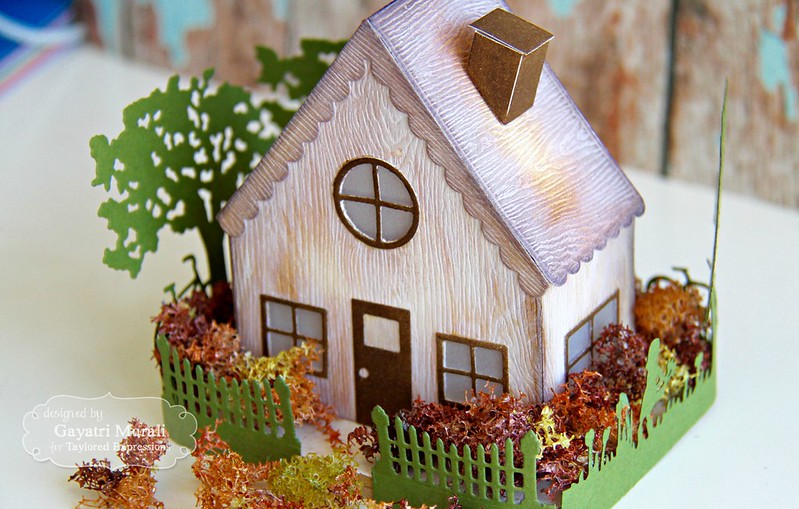
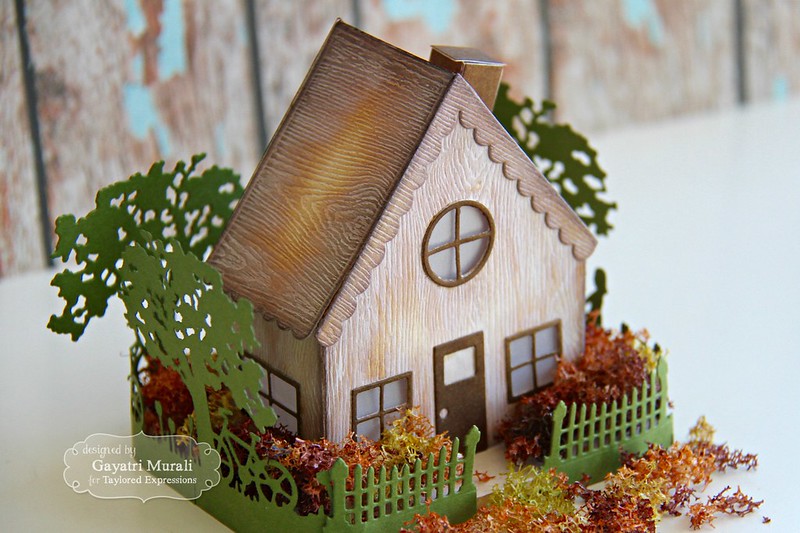
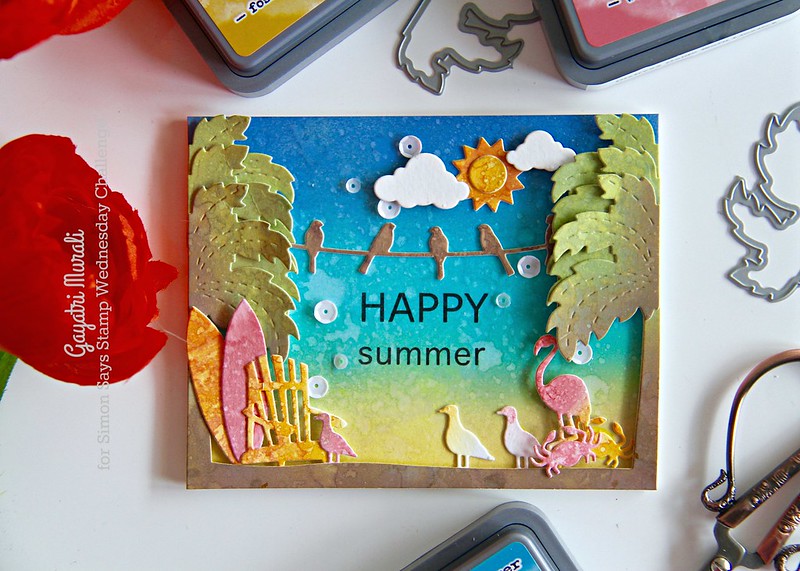
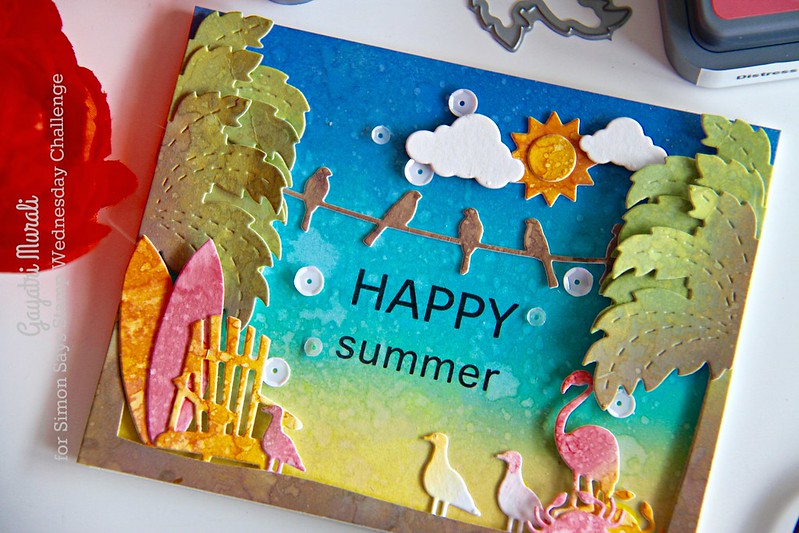
The artificial moss has autumn colours. Similarly, battery operated tealight can be put inside the house. Here are some closeups of the card.

GAYATRIhomesweethomeWEDcloseup//embedr.flickr.com/assets/client-code.js

GAYATRIhomesweethomeWED2//embedr.flickr.com/assets/client-code.js

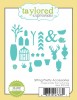
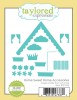
Absolutely adore this die and the accessories gives the house the details. I have not showcased all the accessories. There are window boxes, flowers, grass and curtains to help jazz up the house.  All the supplies using to make both the houses are listed below.

Card Supplies:

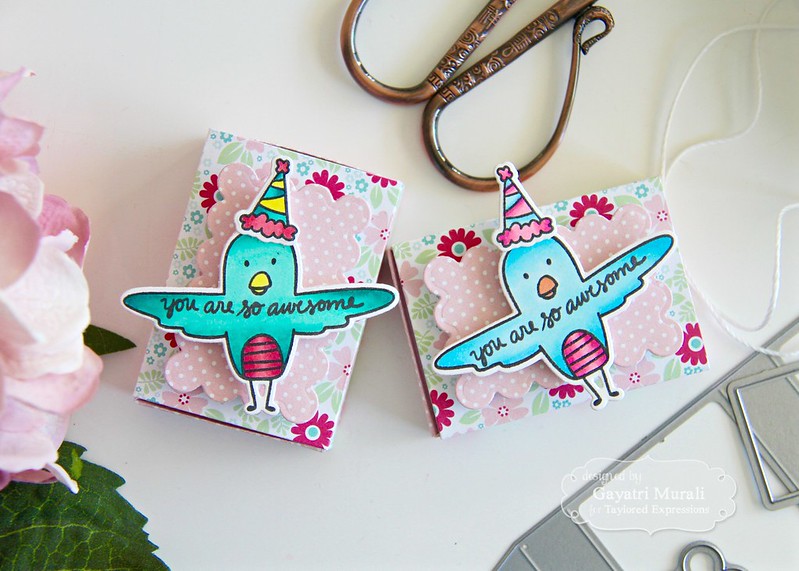
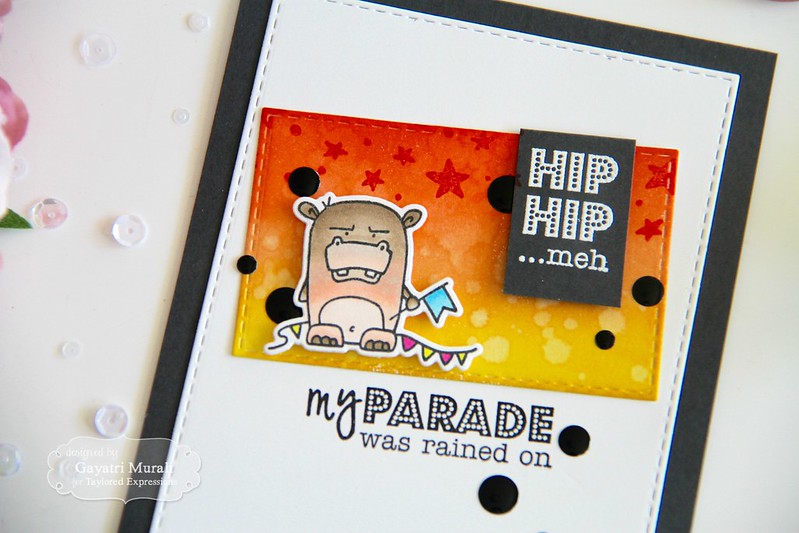
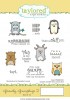
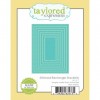
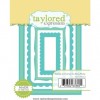
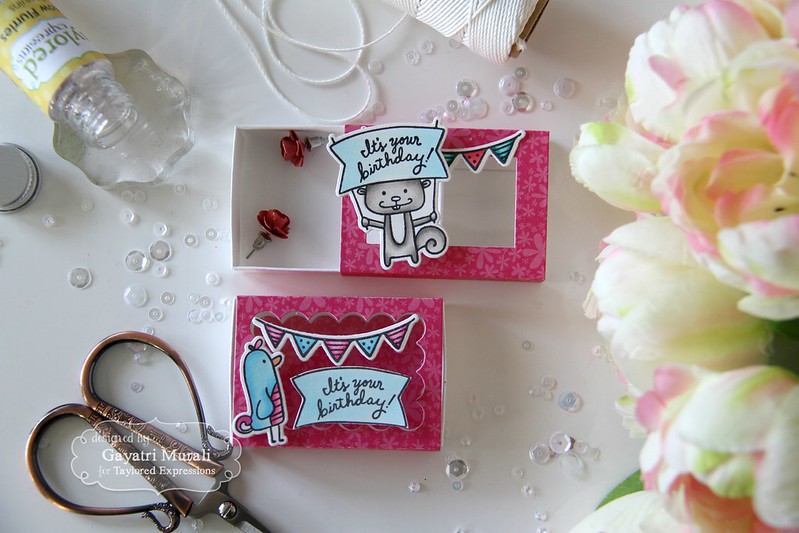
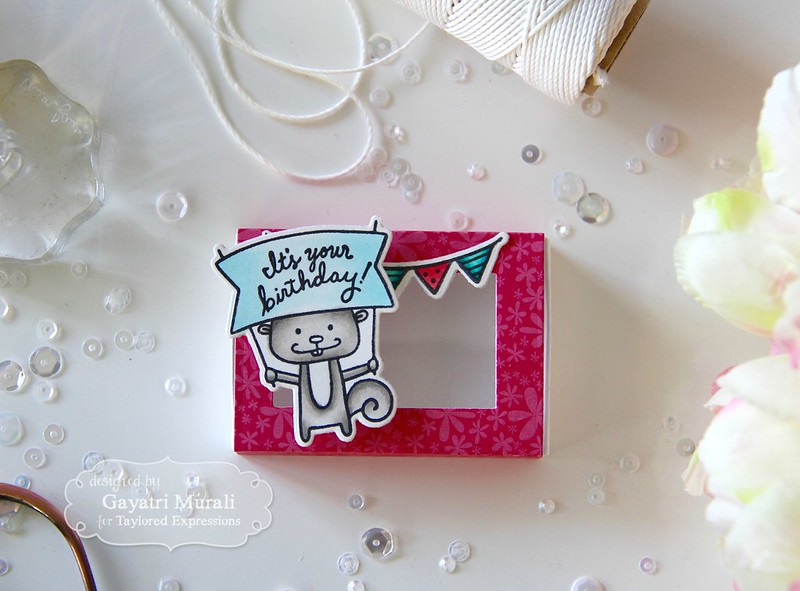
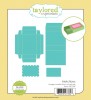
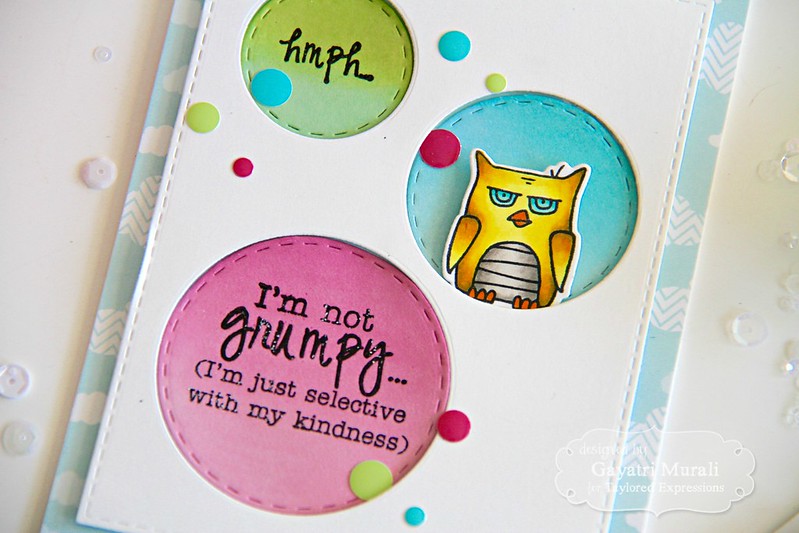
The second product I am showcasing today is a die called Matchbox. Yes, this is a cute match box die.

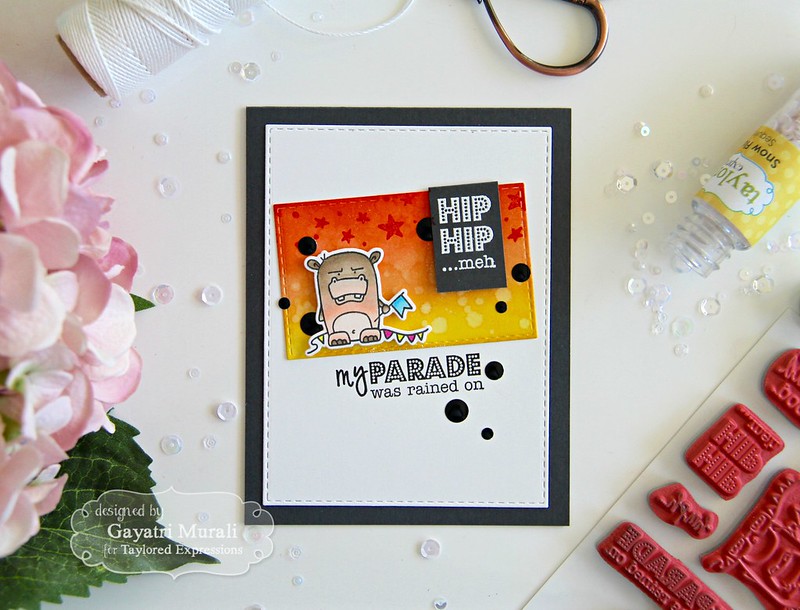
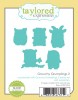
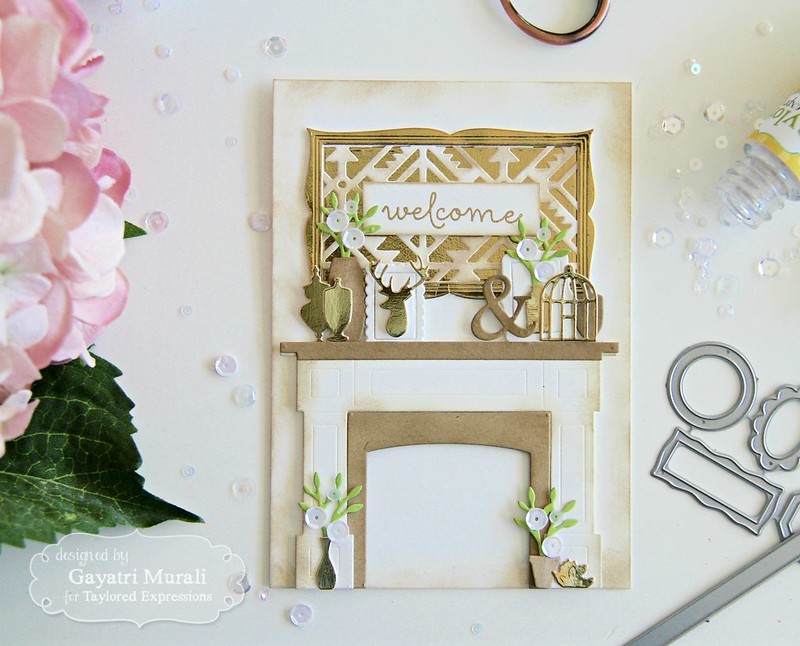
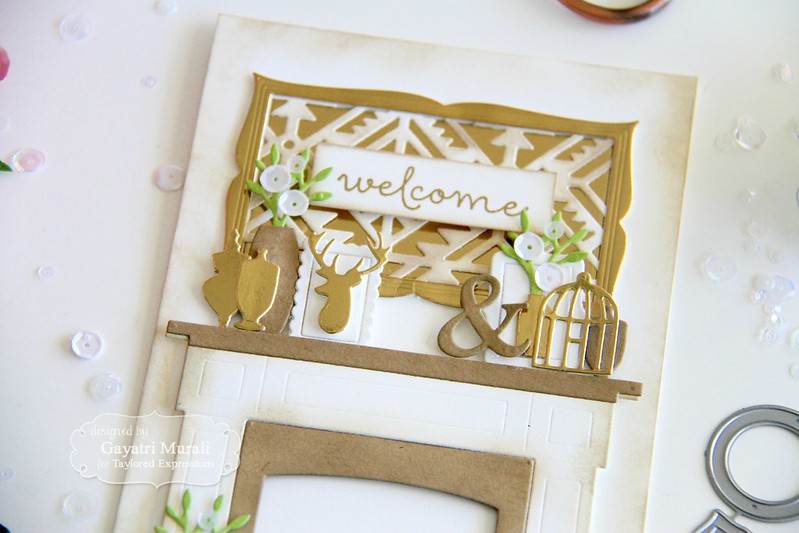
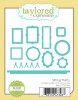
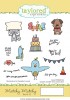
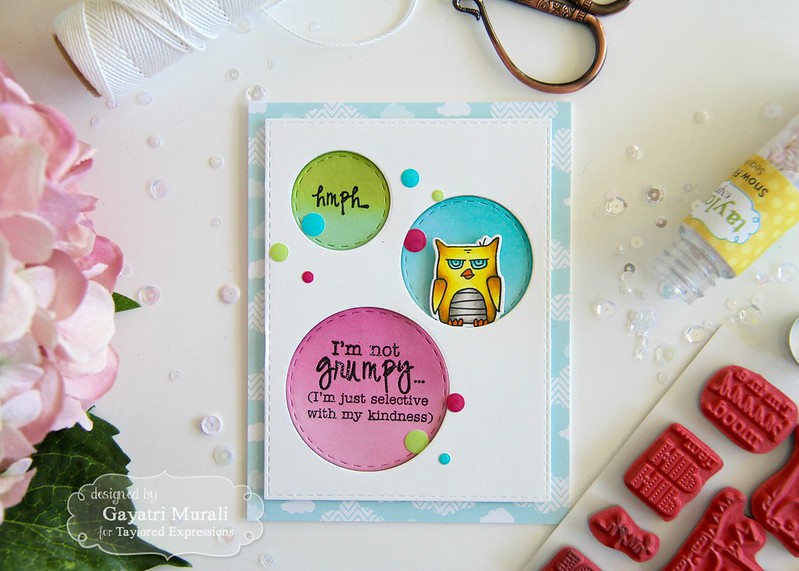
The best part of this Matchbox die is the scalloped and rectangle die which can be used to add layers on top or inside of the box or die cut to make a window. I have combined this die with Matchy Matchy stamp set to make my project.

GAYATRImatchbox1THURS//embedr.flickr.com/assets/client-code.js

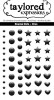
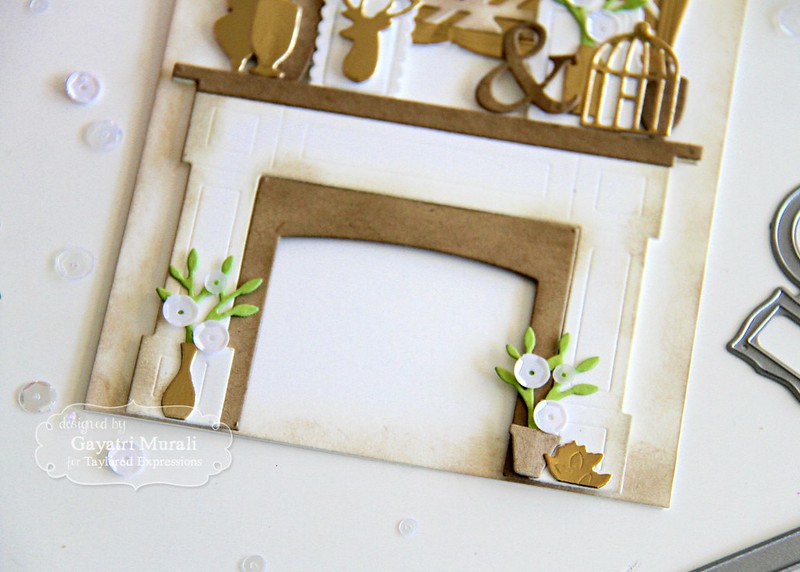
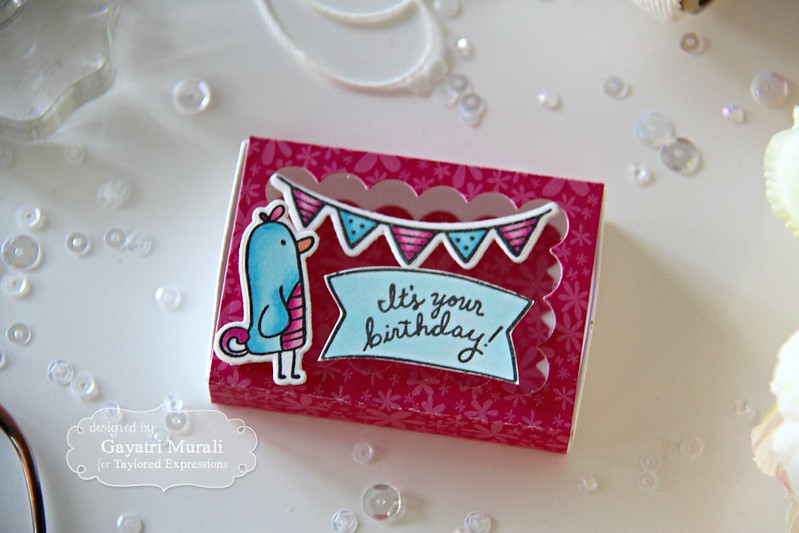
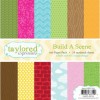
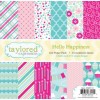
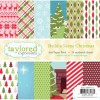
I have used pattern papers from Hello Happiness pattern paper pack to die cut the Matchbox die and make the matchboxes. Then I die cut the scalloped rectangle using another pattern paper from the same pack and layered on top of the matchbox using foam adhesive. To decorate the matchbox, I stamped the bird and hat from the new Matchy Matchy stamp set, copic coloured them, die cut using the coordinating dies. I picked colours to colour the image from the pattern paper. I stamped the sentiment from the same stamp set on the wings of the bird using Oreo hybrid ink. I adhered the the bird along with the hat on top of the match box.

GAYATRImatchboxTHURS//embedr.flickr.com/assets/client-code.js

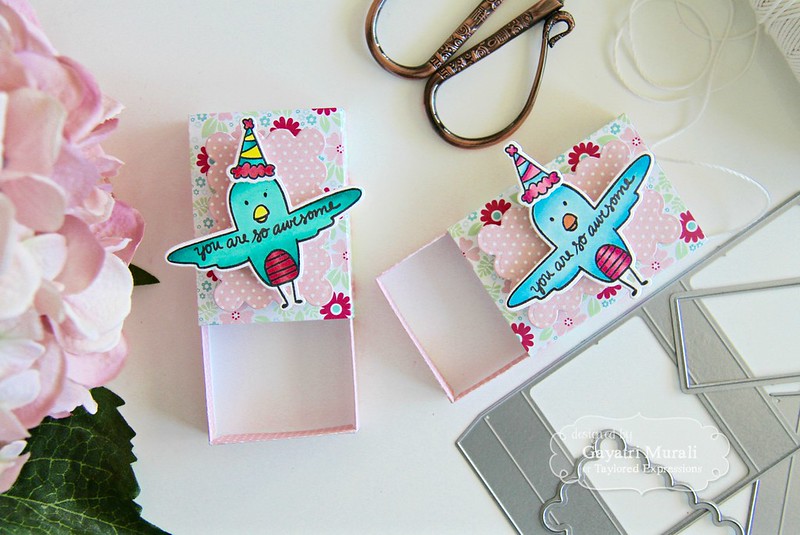
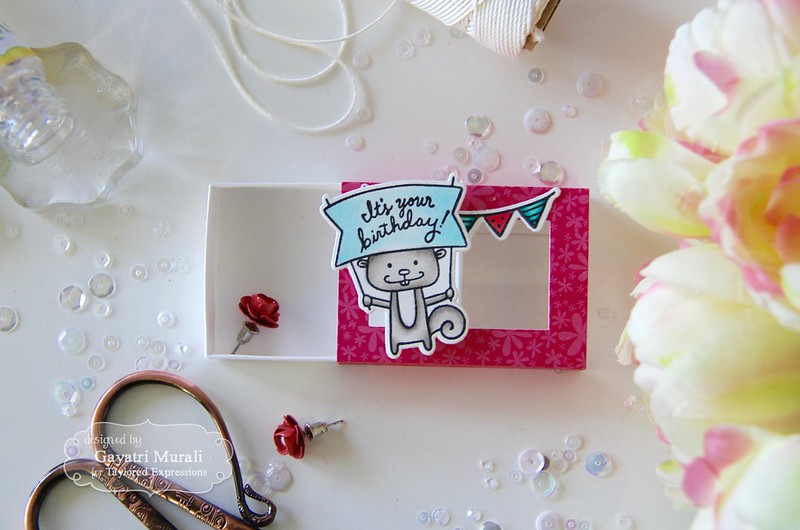
The box is so cute that you can put jewellery inside with personal note on a piece of paper to put with it to personalise the match box to your occasional. Hope you like it. All the supplies used to make this project is listed below.


Hope you are inspired by my sneak peek projects today. Taylored Expressions is celebrating Release Week with some fabulous giveaways! Visit the TE Blog to answer Taylor’s Question of the Day for a chance to win a prize from the latest release!

For a limited time, earn DOUBLE CRAFTY POINTS on our Matchbox Die Set! If you’re not a Crafty Points member, it’s free and easy to join. Just create an account at the TE webstore and you’re automatically enrolled to begin earning crafty points with every purchase. You’ll earn 78 Crafty Points on the purchase of the Matchbox Die Set! Offer valid on qualifying purchases made between 9am CST on Thursday, March 9, 2017 and 11:59 pm CST on Sunday, March 12, 2017 and only while supplies last. Crafty Points are only available on purchases made via our retail site

Check out Taylored Expression Blog to check out what the question of the day is and to comment for a chance to win. While you are there check out more sneak peek projects from Taylor and rest of the designers using the March new release.
I will see you tomorrow with release day of sneak peek projects.

Thanks for stopping by my blog.
My blog signature

Penny Black

Simon Says for a Special Lady/Girl


wed-newchallenge-header

Hi all and welcome to another week on the Simon Says Stamp Wednesday Challenge
Thank you for joining us for the Tag You’re It Challenge and we hope you will all join us again this week too.
We will be back soon with the name of the lucky winner of the $50 Voucher
This week the challenge is

For A Special Lady/Girl

This week we are showcasing Penny Black Products this week. You don’t have to use them for the challenge but if you have them we would love to see them used.
As always Simon Says Stamp will be giving away $50 voucher to shop at the fabulous Simon Says Stamp Store.
I chose to go with Penny Black’s Saying a Latte stamp set. My daughter has become to love coffee recently and she will definitely appreciate this card. 
Mother's Day card #1
Instructions:

1. I stamped the image and the sentiment framing the image on a white cardstock panel. Then I coloured the image using copic markers.

2. I used Sakura white gel pen to add highlights to the coloured image.

3. I applied the image completely with masking fluid and let it dry.

4. I masked the edges of the panel about half an inch using masking tape and sponged distress inks – Twisted Citron, Mustard Seed and Dried Marigold.

5. I removed the masking tape and the rubbed the masking fluid off the image to reveal the beautiful background.

6. I sprinkled some clean water and dabbed it off with a clean cloth. This added texture the background.

7. I trimmed the panel about an inch and quarter and adhered the panel to the white card base using foam adhesives.

8. I added some white iridescent sequins to embellish the card.

Here are couple of closeups of the card.

Mother Day card closeup
All the supplies to make this card is listed below. 
So now it’s YOUR turn.  Happy Crafting
Do you use Instagram ?  If so please add  #ssswchallenge to your challenge entry uploads so we can see them on there too !
There are fabulous Give Aways and inspiration from fabulous designers on a daily basis over on the Simon Says Stamp Blog , if you haven’t subscribed by email you may want to so you don’t miss out.
Simon Says Stamp
You have until Wed  8am Ohio time. 1pm UK time, 2 pm CET to join in
New creations only, please don’t link projects published before the start of the challenge, Only 5 new creations will be eligible in the prize draw
Card Supplies:

I have one more post come up soon. Thanks for stopping by. 
My blog signature
Uncategorized

Guesting at Simon Says Stamp Blog!

Hey everyone,
Today I have three post. This is my first. I am super excited to be guest designing at Simon Says Stamp Blog today sharing couple of my projects. Thank you so much for the opportunity.

Here is a sneak peek of one of the cards.

Check out Simon Says Stamp Blog for more details on this card and one more card as well.

I will see you soon with another post.

My blog signature
Taylored Expressions

There is no place like home! TE March Release Day #2!

Hello everyone,
Welcome to Day #2 of Taylored Expressions March release sneak peek! Day #1 sneak peek is HERE if you like to view the post. Today I am showcasing two more new products from the March release. The first product I am showcasing is a stamp set called There’s No Place Like Home.
This is a beautiful stamp set and coordinates well with couple of Little Bits dies new release as well. I have paired the stamp set with Little Bits – House die to make my project.
I white heat embossed the border image from There’s No Place Like Home stamp set on the bottom of a watercolour paper panel. I then sponged distress inks in rainbow colours on the background and the border embossed image pops out of the colourful background.
The sentiment is white heat embossed on Oreo cardstock, trimmed and adhered on the panel. To highlight the new house, I die cut the Little Bits- House die in gold mirror cardstock and Oreo cardstock and adhered on the heat embossed border covering two of the embossed houses. Then embellished with sequins from Snow Flurries collection.

GAYATRIThereisnoplacelikehomeTUEcloseup//embedr.flickr.com/assets/client-code.js

Here are the list of supplies used to make this card.

https://static.inlinkz.com/ppr.js

The second new product I am showcasing today is another stamp set called Grouchy Grumplings 2. Yes, another stamp set and coordinating dies to the Grumplings series. I love it.

I love that bird in the stamp set. So adorable with the grumpy face. I used the bird and sentiment to make my card.

GAYATRIGrouchyGrumplings2TUE//embedr.flickr.com/assets/client-code.js

I used the clouds pattern paper from Build a Scene pattern paper pack on the background. Then die cut a Sugar Cube cardstock using the largest stitched rectangle die from Stitched Rectangle Stacklet. then used three stitched rectangle die to die cut three circle out of the panel. I sponged various TE dye inks on the stitched circles, black heat embossed the sentiment on two of them.
I adhered the rectangle negative panel on the card front using foam adhesives and inlaid the sponged circle dies back in place using liquid glue. I stamped, copic coloured and die cut the bird from Grouchy Grumplings 2 and adhered on the empty circle. The card is embellished using TE enamel shapes.

GAYATRIGrouchygrumplings2closeupTUE//embedr.flickr.com/assets/client-code.js

Here are the list of supplies used to make the card.

https://static.inlinkz.com/ppr.js

Hope you are inspired by my sneak peek projects today. Taylored Expressions is celebrating Release Week with some fabulous giveaways! Visit the TE Blog to answer Taylor’s Question of the Day for a chance to win a prize from the latest release!

For a limited time, earn DOUBLE CRAFTY POINTS on our Matchbox Die Set! If you’re not a Crafty Points member, it’s free and easy to join. Just create an account at the TE webstore and you’re automatically enrolled to begin earning crafty points with every purchase. You’ll earn 78 Crafty Points on the purchase of the Matchbox Die Set! Offer valid on qualifying purchases made between 9am CST on Thursday, March 9, 2017 and 11:59 pm CST on Sunday, March 12, 2017 and only while supplies last. Crafty Points are only available on purchases made via our retail site

Check out Taylored Expression Blog to check out what the question of the day is and to comment for a chance to win. While you are there check out more sneak peek projects from Taylor and rest of the designers using the March new release.
I will see you tomorrow with day #3 of sneak peek projects.

My blog signature