We wish you all a Very Happy New Year and hope that 2017 is a good one for everyone!
Welcome to another week on the Simon Says Stamp Wednesday Challenge
Thank you for joining us for the Make It Sparkle Challenge and we hope you will all join us again this week too.
We will be back soon with the name of the lucky winner of the $50 Voucher
This week the challenge is
Anything Goes
This week we are showcasing Lindy’s Stamp Gang Products. You don’t have to use them for the challenge but if you have them we would love to see them used.
As always Simon Says Stamp will be giving away $50 voucher to shop at the fabulous Simon Says Stamp Store

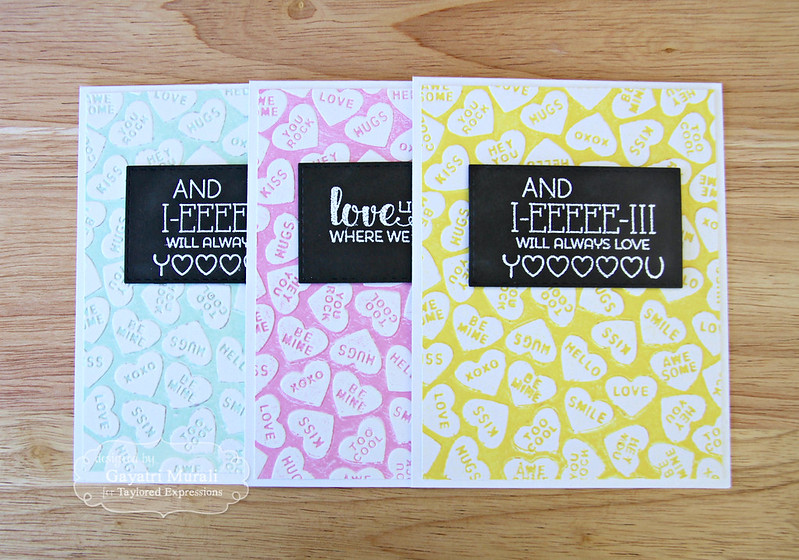
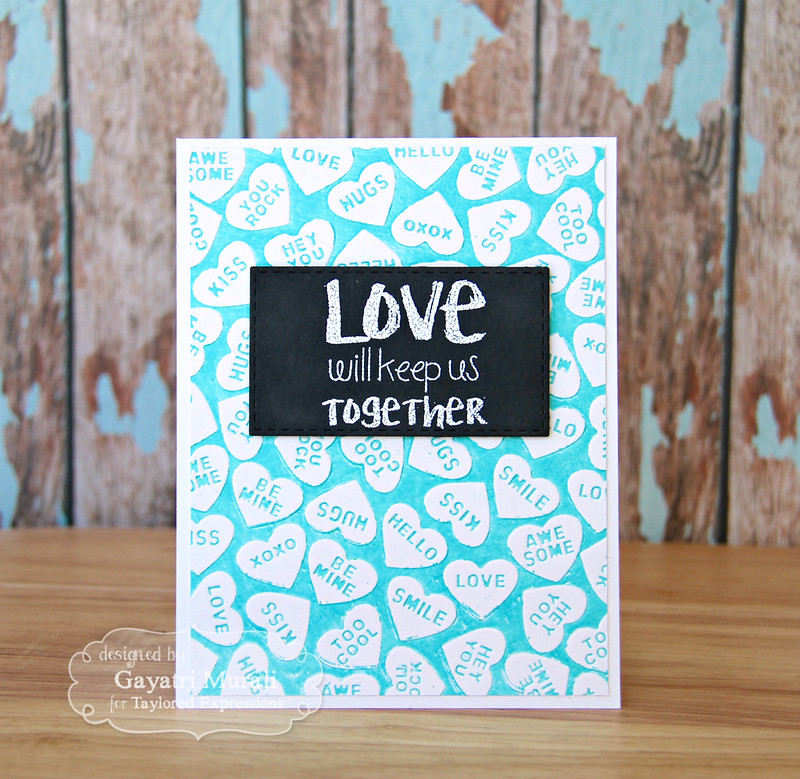
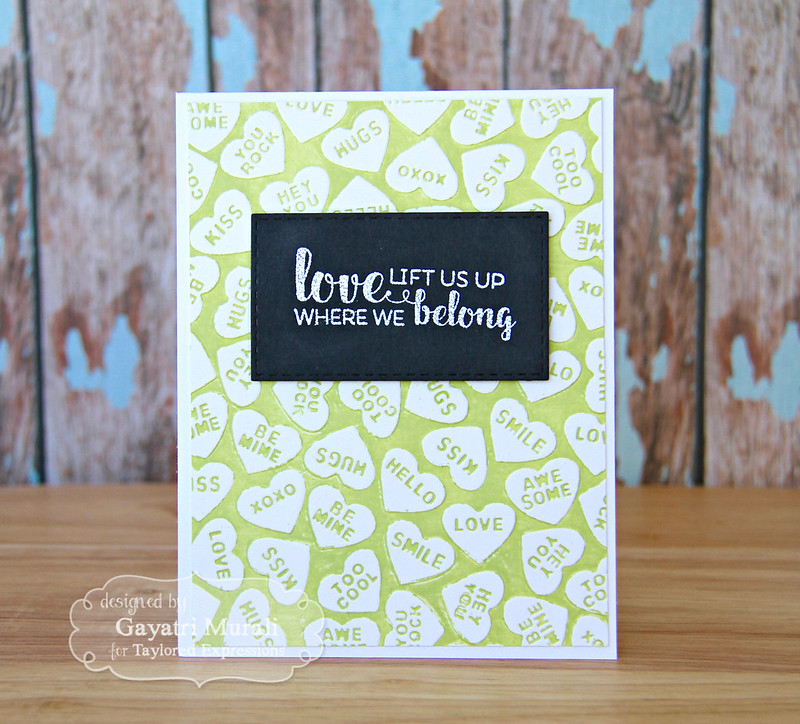
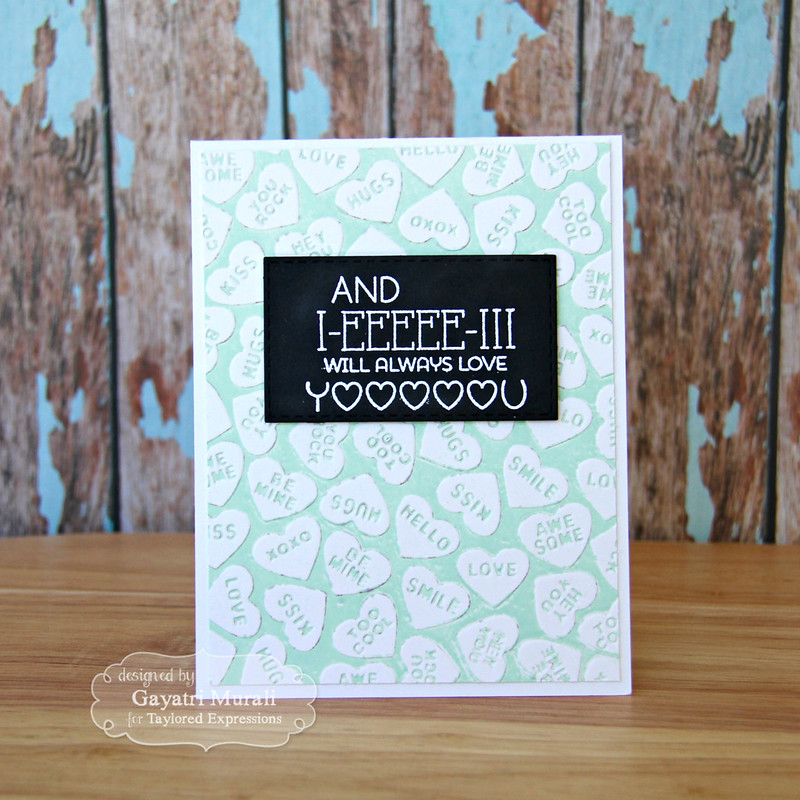
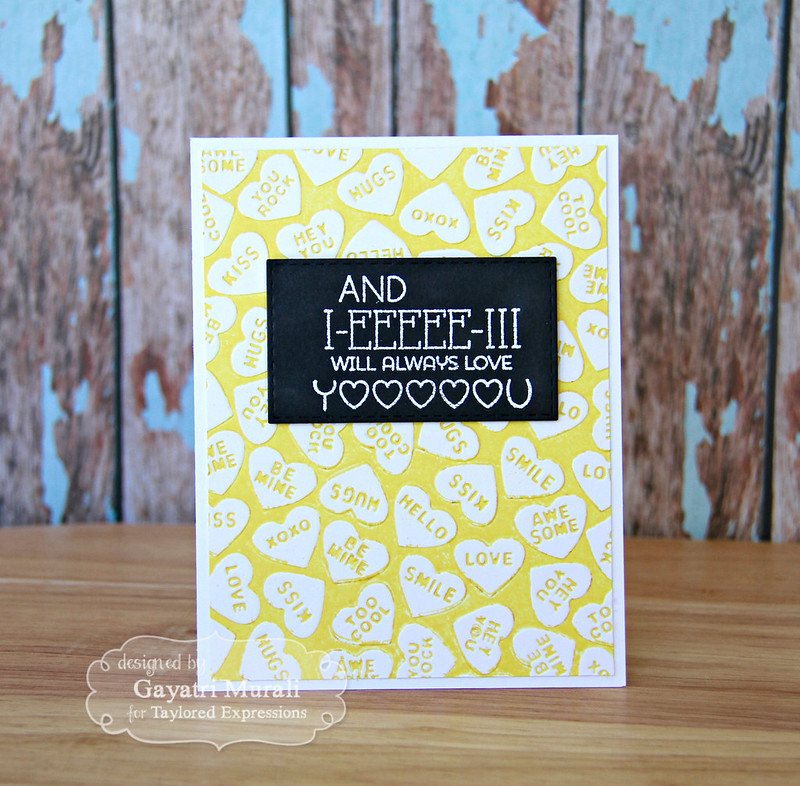
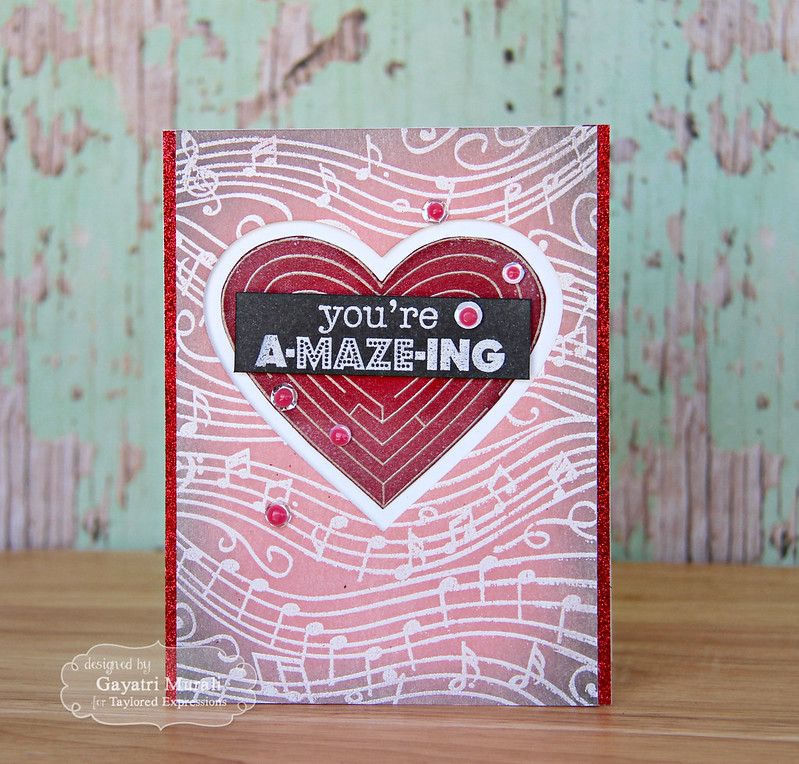
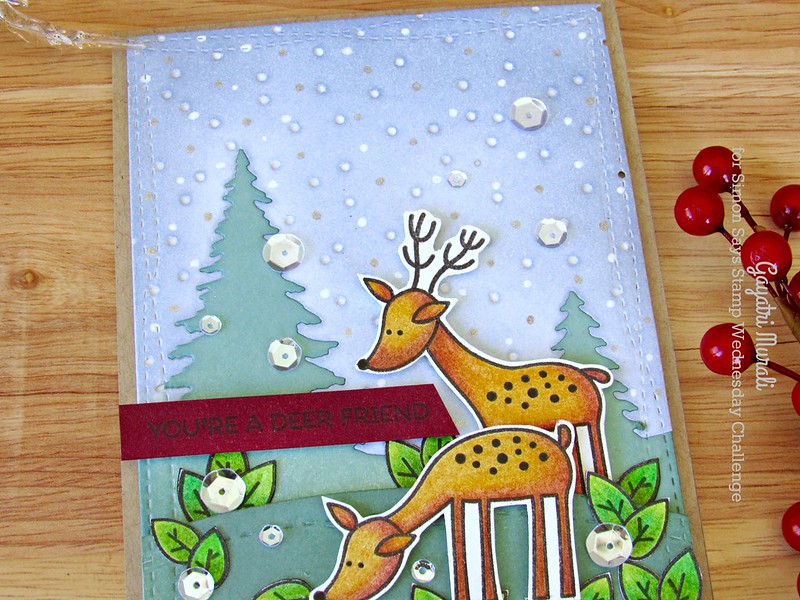
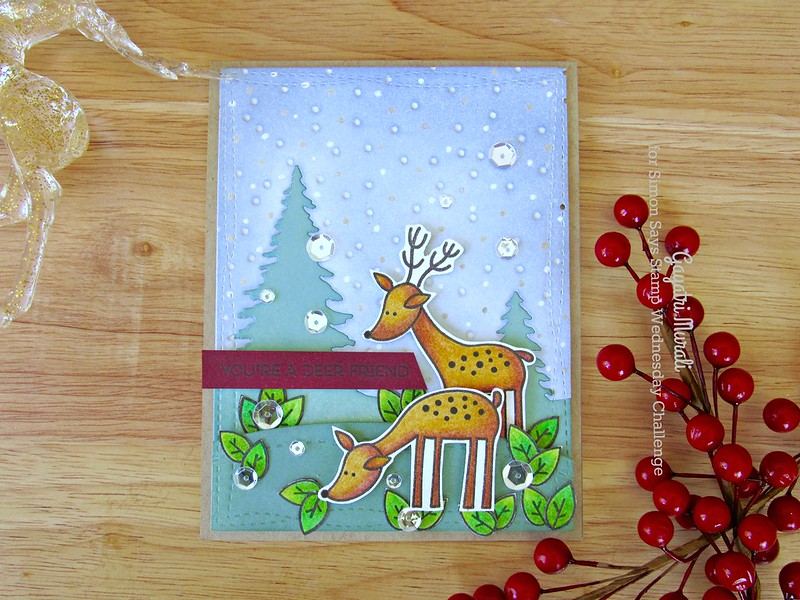
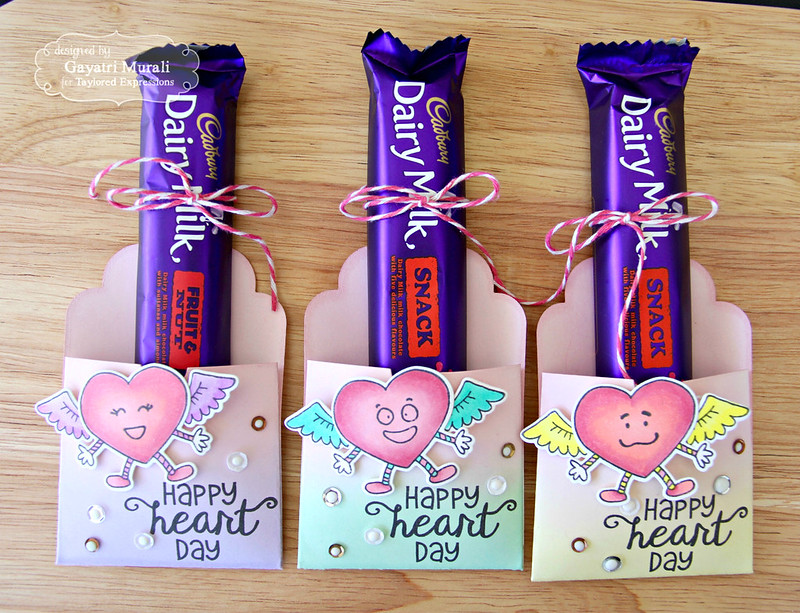
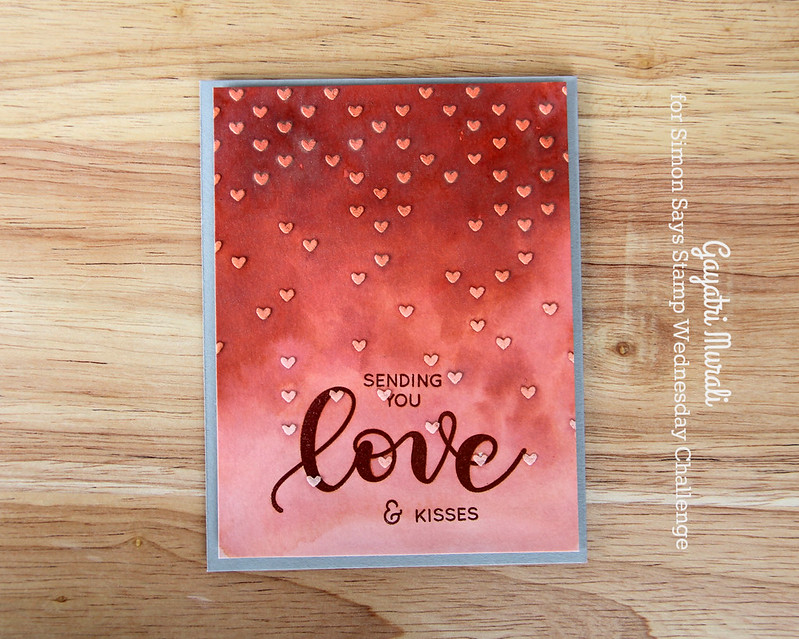
I made a set of cards for the challenge using Mermaid Seashells Magicals set. I used the new Simon Says Stamp Kristina’s Love stamp set from Hey love collection and an older stencil also from Simon called Falling Hearts to make my cards.
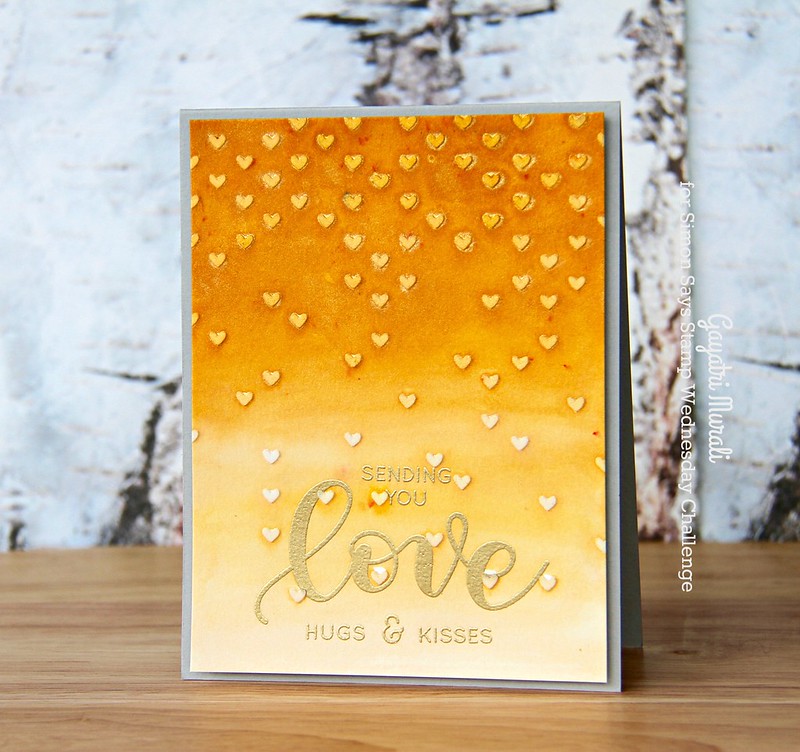
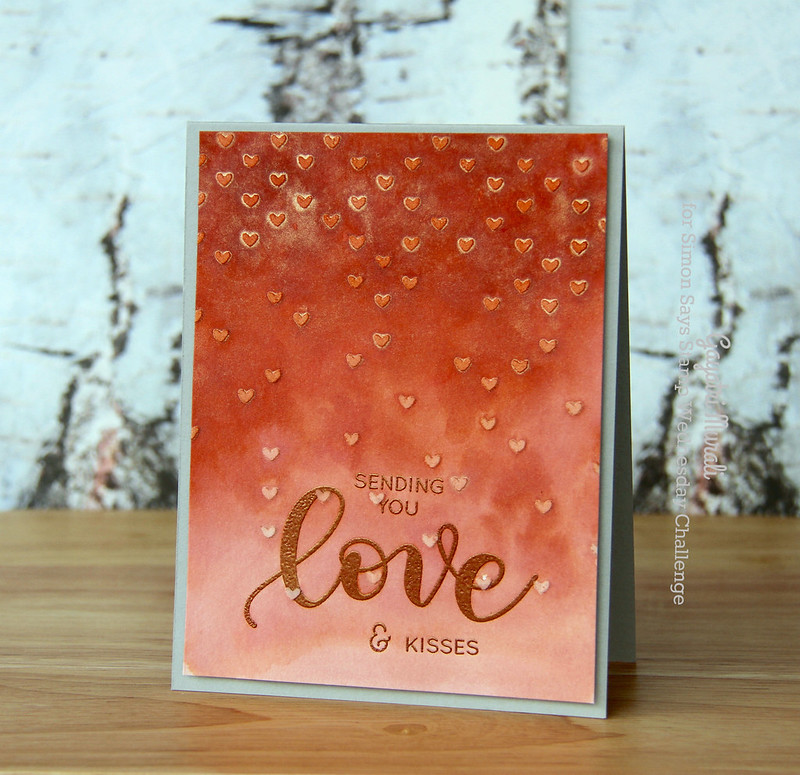
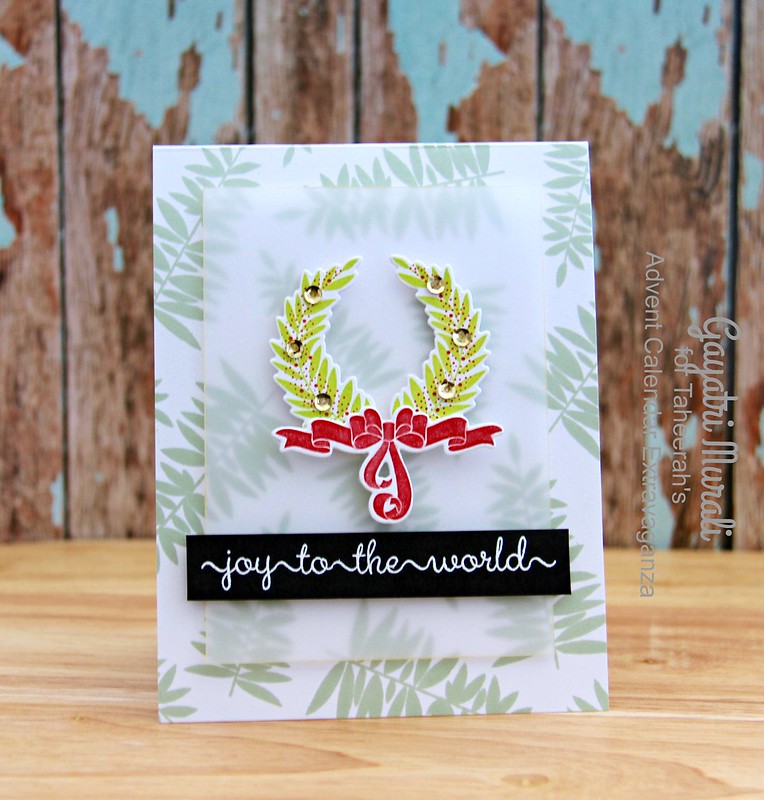
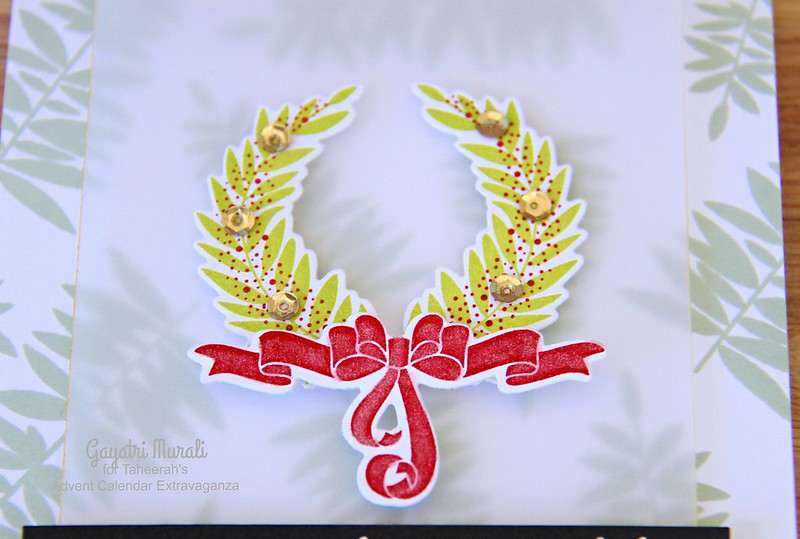
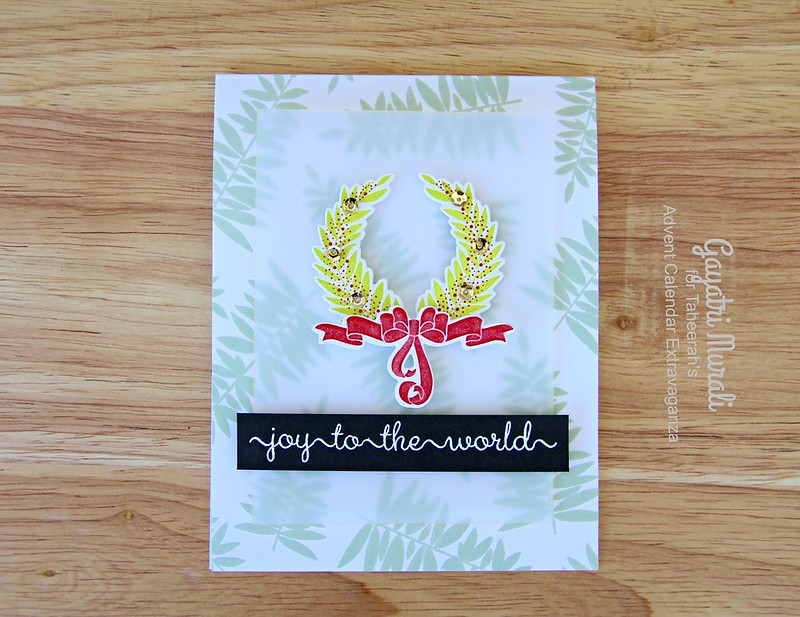
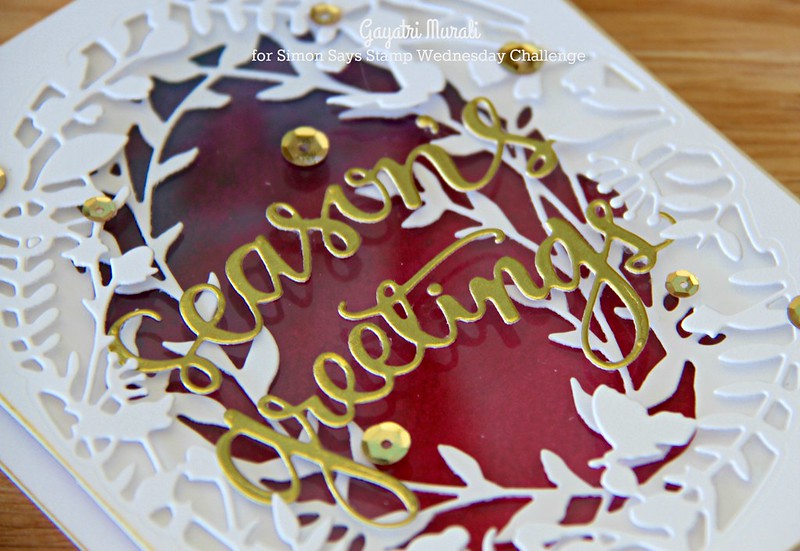
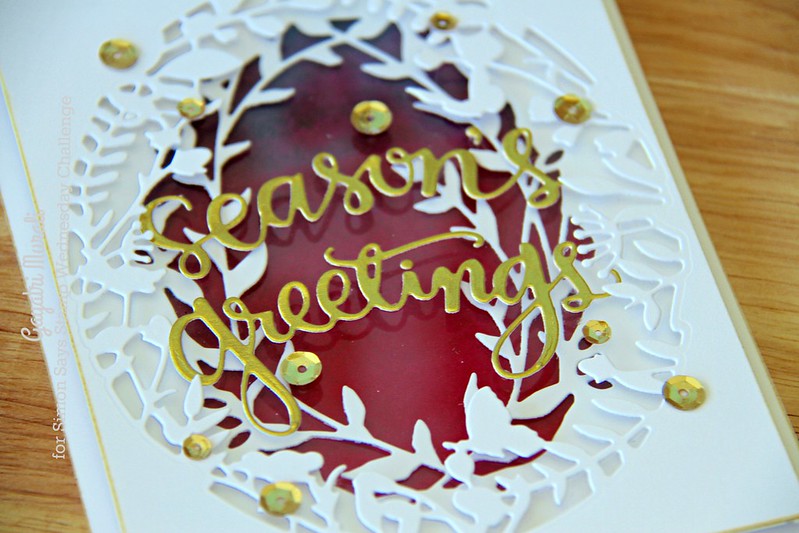
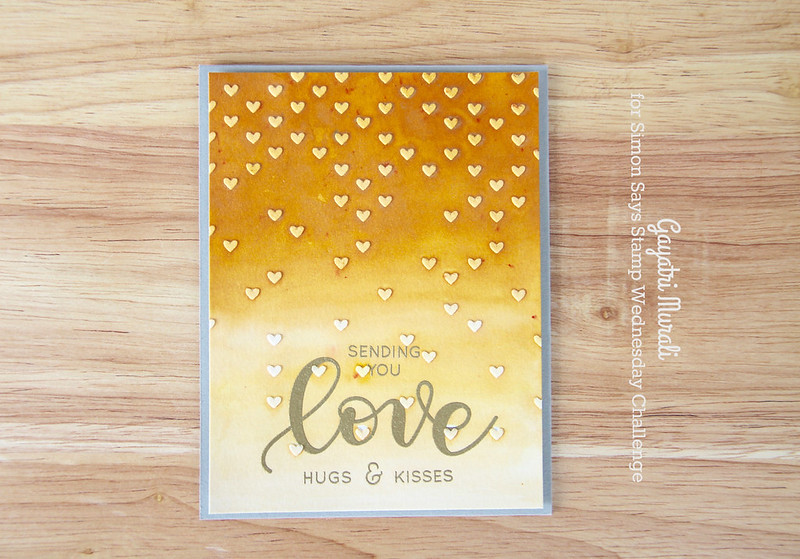
For the first card, I gold heat embossed the sentiment on the bottom of the Bristol panel using Simon’s gold embossing powder. On the second card, I heat embossed the sentiment using Simon’s Rose Gold embossing powder.
 //embedr.flickr.com/assets/client-code.js
 //embedr.flickr.com/assets/client-code.js
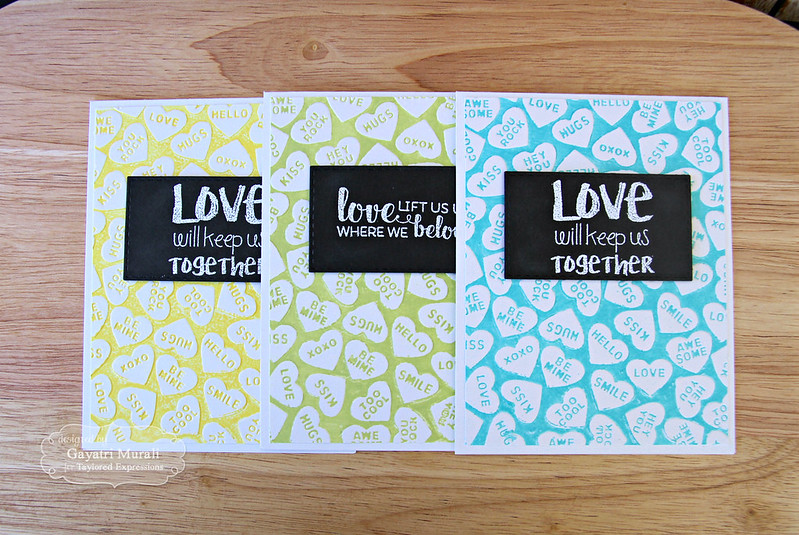
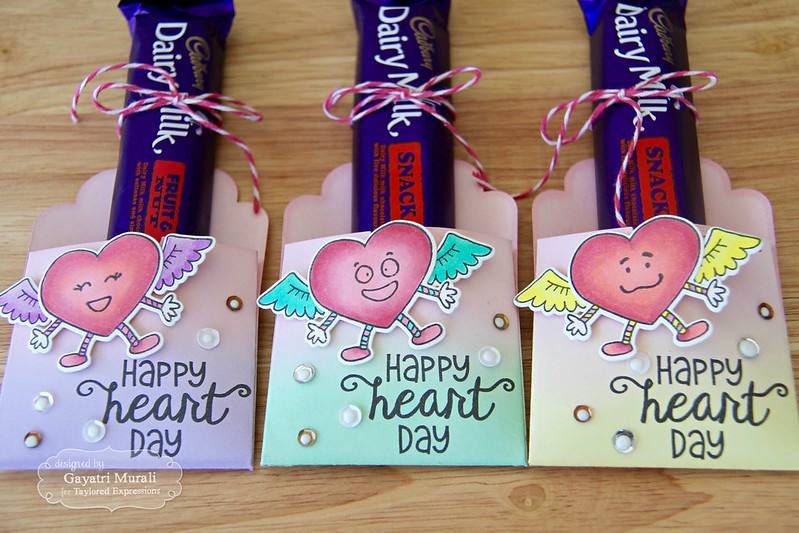
Then I used the Falling Hearts stencil to add embossing paste through out the panel. Once dry, I brushed water on the panels and then the Cockelbells Coral and Glory of Sea Gold pigments made into watercolour by adding water. I brushed two layers drying the first layer to add the second layer. The I trimmed the panel and adhered on Simon’s Slate card base.
 //embedr.flickr.com/assets/client-code.js
 //embedr.flickr.com/assets/client-code.js
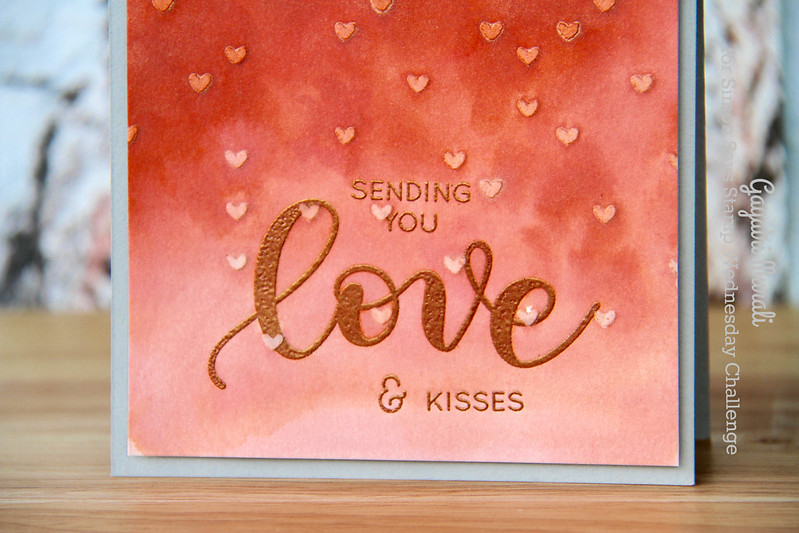
The shimmer from the Lindy’s Gang pigment powder is gorgeous on the cards. I could not capture on my photos but in real the background is shimmery. Hope you like my cards.
//embedr.flickr.com/assets/client-code.js//embedr.flickr.com/assets/client-code.jsThen I used the Falling Hearts stencil to add embossing paste through out the panel. Once dry, I brushed water on the panels and then the Cockelbells Coral and Glory of Sea Gold pigments made into watercolour by adding water. I brushed two layers drying the first layer to add the second layer. The I trimmed the panel and adhered on Simon’s Slate card base.
//embedr.flickr.com/assets/client-code.js//embedr.flickr.com/assets/client-code.jsThe shimmer from the Lindy’s Gang pigment powder is gorgeous on the cards. I could not capture on my photos but in real the background is shimmery. Hope you like my cards.
So now it’s YOUR turn. Happy Crafting

Do you use Instagram ? If so please add #ssswchallenge to your challenge entry uploads so we can see them on there too !
There are fabulous Give Aways and inspiration from fabulous designers on a daily basis over on the Simon Says Stamp Blog , if you haven’t subscribed by email you may want to so you don’t miss out


You have until Wed 8am Ohio time. 1pm UK time, 2 pm CET to join in
No backlinking allowed, Only 5 new creations will be eligible in the prize draw
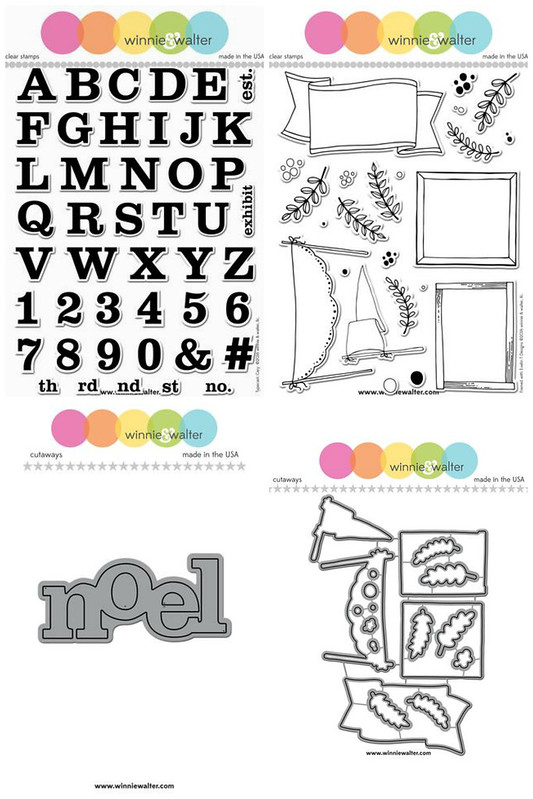
Card Supplies:


Thanks for stopping by my blog today. I am on a holiday and will be away. I have a few posts scheduled. So wishing you all Happy and Healthy New Year 2017!